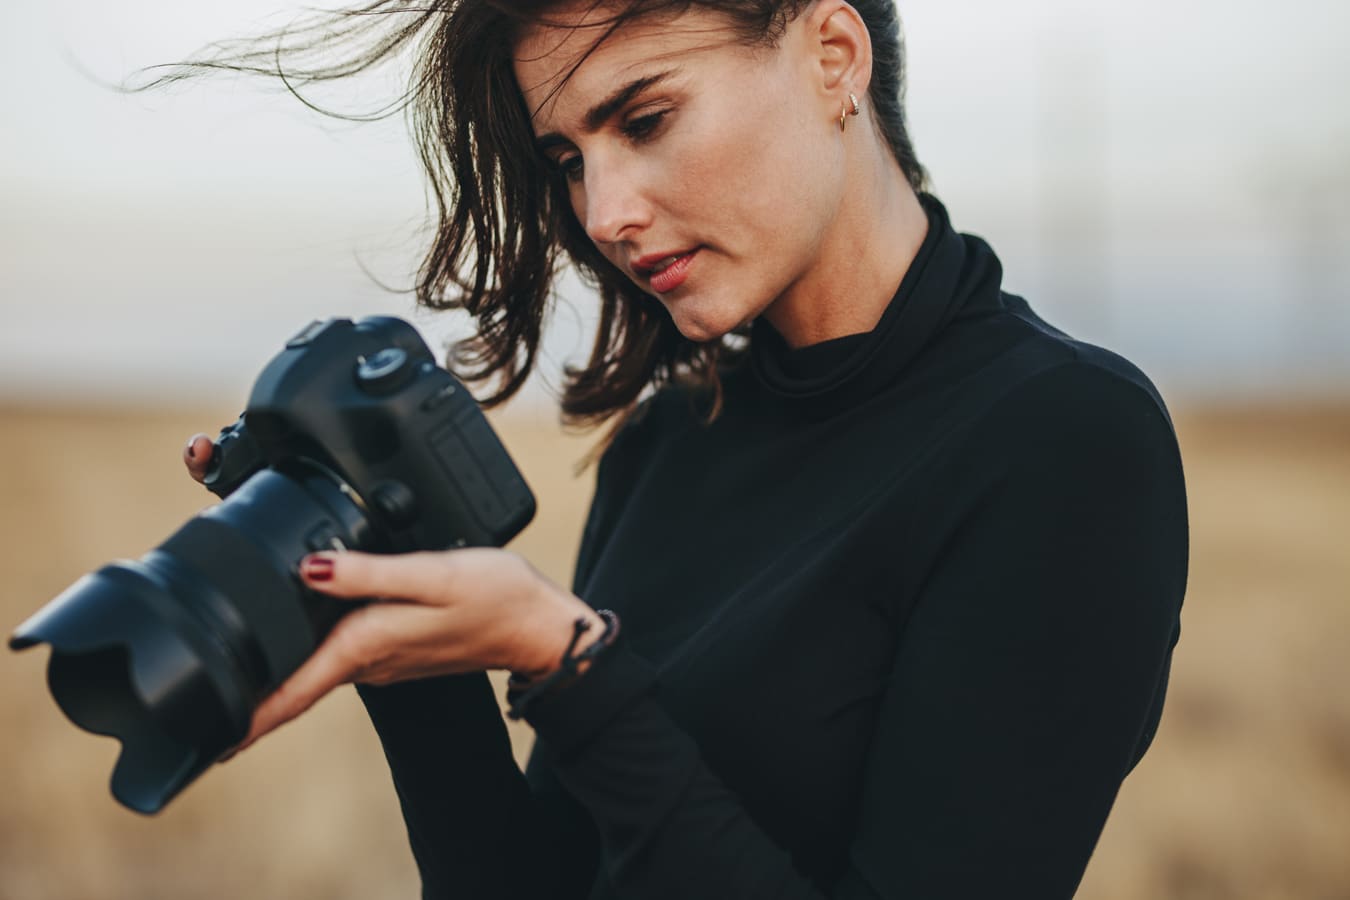



Pronto para dar asas à criatividade na fotografia? Comprar uma câmera DSLR (Digital Single-Lens Reflex) é uma experiência emocionante e um pouco assustadora. A maioria dos iniciantes prefere jogar pelo seguro, ficando nos modos automáticos, mas se você quer levar sua fotografia a um outro nível, talvez seja hora de passar para as configurações manuais. Você não só vai notar a diferença na qualidade das fotos, como também vai ter mais controle criativo sobre os resultados. Neste guia, você vai aprender sobre as ferramentas necessárias para começar, vários termos fotográficos e como juntar todas essas informações para conseguir a foto que você quer. Sem precisar de filtro.
Primeiro, saber como você quer que a foto fique é fundamental para obter os resultados desejados. Este guia fornecerá a você uma pequena introdução a todos os aspectos que contribuem para a criação de uma bela foto.
Como começar
Iluminação
Uma parte importante do aprimoramento de suas habilidades fotográficas é aprender como dominar a iluminação. Tirar fotos com flash pode ser útil em certas situações, como quando você está em ambientes fechados com pouca luz ou quando quer que sua imagem tenha um visual de alto contraste. Por outro lado, a iluminação natural produz resultados mais sutis. Temos um guia tipos de iluminação para te ajudar a identificar com o que você está trabalhando ou com o que você quer trabalhar.

Meio ambiente
O lugar onde você estiver vai influenciar bastante o resultado da sua foto. Se você estiver dentro de uma casa com pouca luz ou ao ar livre no meio do dia, vai ter que ajustar suas configurações manuais de acordo com a situação. As DSLRs mais recentes (a partir de 2020) conseguem lidar com ISO mais altos sem que a imagem fique necessariamente muito granulada no resultado final, mas é bom tentar fotografar a mesma cena com várias configurações de ISO pra ter uma boa noção do leque que vai do “bom” ao “inutilizável”.
Lentes e tripés
Usar uma DSLR não precisa ser tão complicado assim. Dependendo da marca, muitas pacotes de câmeras DSLR digitais para iniciantes Vem com uma lente de kit de 18-55 mm, que é ótima para quem está começando. Lembra que quanto maior a abertura, mais você consegue uma separação incrível na profundidade de campo, como o efeito bokeh. Você consegue manter o foco nítido no seu objeto com o fundo ou o primeiro plano desfocado, criando um efeito dramático. Aberturas maiores também permitem que você tire fotos com pouca luz; por isso, para sua DSLR, talvez valha a pena dar uma olhada em uma lente de 50 mm, que oferece mais opções e versatilidade para suas fotos.
A diferença entre esses dois tipos de lentes é que a de 18-55 mm é uma lente de zoom, enquanto uma de 50 mm é uma lente principal; a maioria das lentes fixas oferece aberturas menores em comparação com as lentes zoom. Uma lente zoom permite que você amplie a imagem, capturando várias distâncias focais sem precisar trocar de lente. Uma lente fixa tem distância focal fixa, o que significa que você não pode ampliar a imagem com ela e só poderá capturar uma distância focal. Para tirar uma foto mais de perto, você teria que trocar a lente ou, dá um zoom com os pés como a gente costuma dizer.
Se você quiser ir além da lente que vem no kit, vai ter que decidir se quer outra lente zoom ou se prefere experimentar uma lente fixa. Ambas têm pontos positivos e negativos para os fotógrafos.
Outro equipamento que você deve considerar usar é um tripé, especialmente se a sua câmera não compensar movimentos leves. Com o uso de um tripé, você garantirá uma imagem mais nítida e limpa.
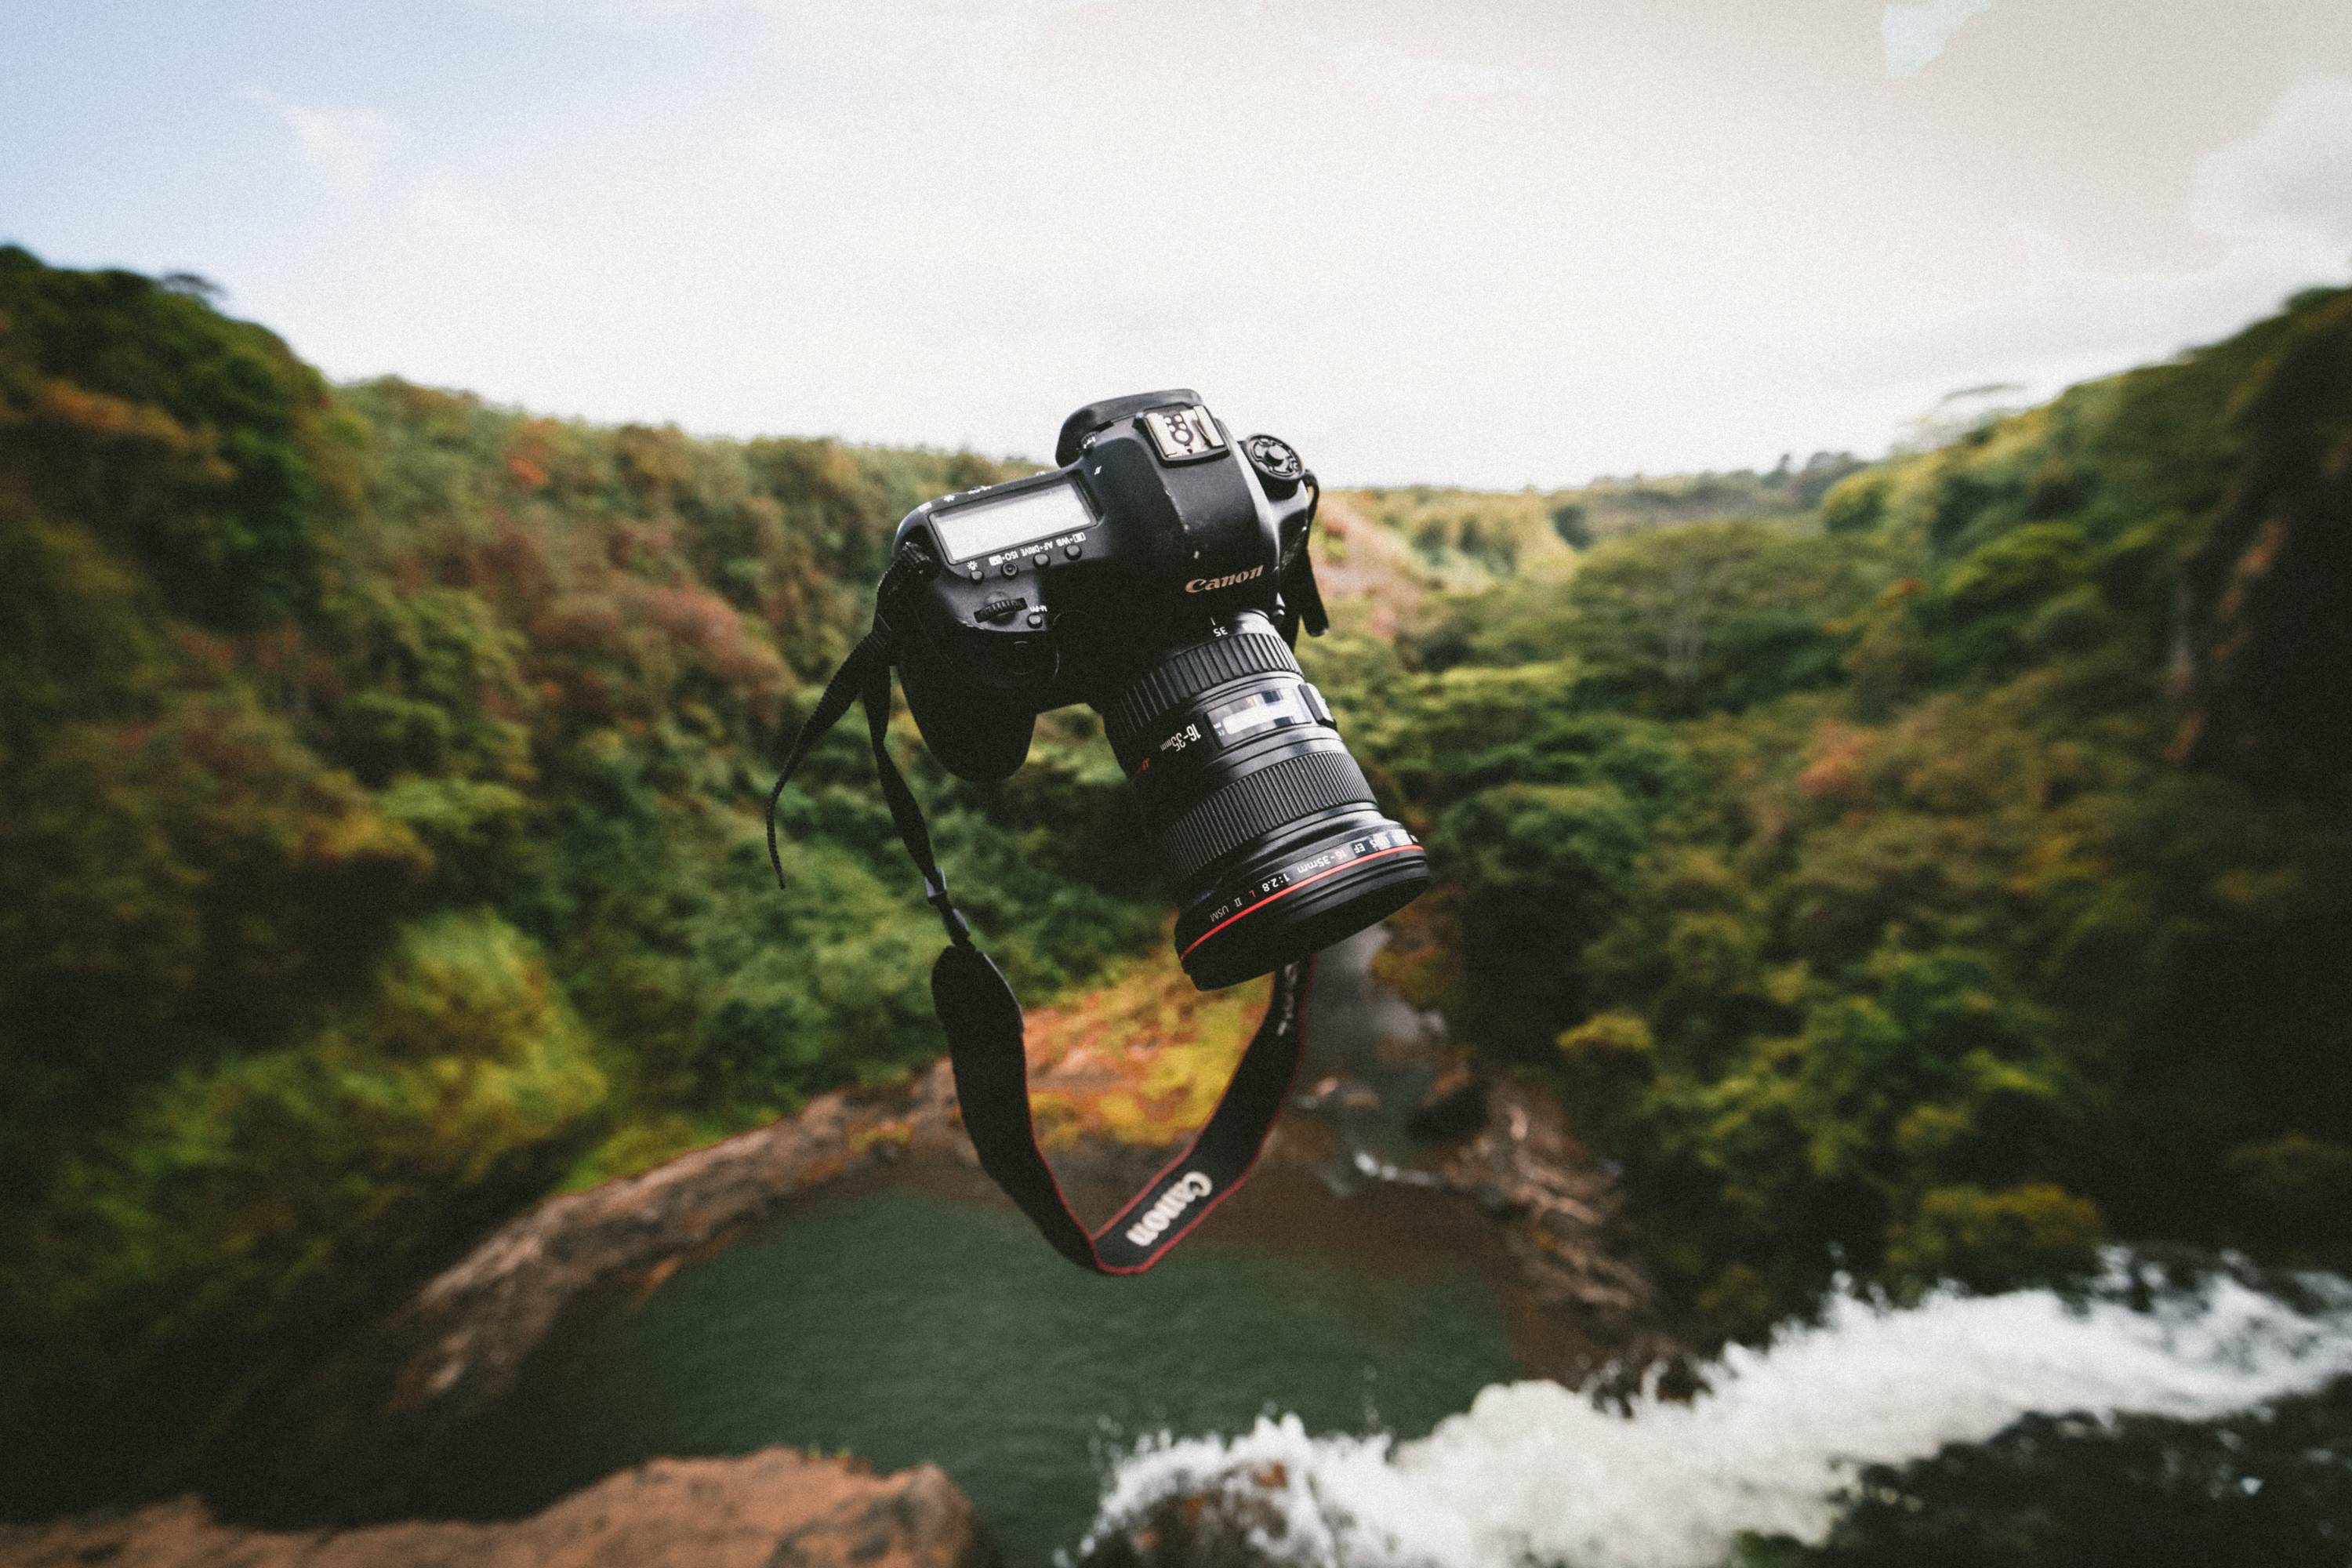
Configurações básicas de fotografia
Agora vamos falar das configurações técnicas da sua DSLR. Depois de ter tudo o que você precisa para tirar uma foto, como iluminação, cenário e equipamento adequados, é hora de começar a usar as configurações manuais da sua câmera para criar o efeito desejado.
Aperture
Os abertura É composta por pequenas lâminas na lente que formam uma forma octogonal ajustável. Ela indica o tamanho do orifício na sua lente. Quanto menor for o orifício, menos luz passa por ele. Quanto mais aberto for o orifício, mais luz entrará na sua lente. É melhor pensar na abertura como a pupila do olho da sua câmera — uma que você mesmo pode controlar. A abertura é medida pela sua f-stop. Quanto mais alto for o f-stop (f22), menor será o buraco e mais escura será a imagem.
O f-stop também mede a profundidade de campo, como já falamos acima. Um valor menor de f-stop (f2.8) vai dar mais profundidade à sua foto. Por exemplo, se você estiver tirando uma foto de uma pessoa e quiser que o fundo fique um pouco desfocado, você escolheria um f-stop baixo. Se você estiver tirando uma foto de uma paisagem bonita, (normalmente) vai querer um valor maior de f-stop para garantir que tudo fique em foco.
Velocidade do obturador
Os velocidade do obturador indica quanto tempo a câmera vai ficar exposta à luz. Esse tempo é mostrado em frações de segundo; por exemplo, pode ser 1/2 segundo ou 1/200 de segundo. Uma velocidade de 1/200 de segundo é mais rápida do que 1/2 segundo. Usar uma velocidade mais rápida significa que a imagem ficará mais escura. Se você quiser clarear a imagem, use uma velocidade de obturador mais lenta. No entanto, uma velocidade de obturador mais rápida é melhor para congelar um quadro em movimento. Por exemplo, se você quiser tirar uma foto de alguém correndo, vai precisar de uma velocidade de obturador mais rápida.

ISO
O ISO é um ajuste da câmera que afeta a exposição. Um ISO alto deixa a imagem mais clara, mas também pode deixar a imagem mais granulada ou com aquele efeito “crocante” digital. Por exemplo, se você ajustar a câmera para ISO 1600, a imagem vai ficar mais clara e com mais ruído. Se você estiver usando ISO 400, as imagens ficarão mais nítidas e mais escuras.
Em algumas câmeras DSLR, existem modos criativos que te dão um pouco de controle sobre algumas configurações. Os dois mais comuns que os fotógrafos usam são a prioridade de obturador e a prioridade de abertura. A prioridade de obturador significa que você controla a velocidade do obturador e o ISO, enquanto a prioridade de abertura permite que você controle a abertura e o ISO. A câmera ajustará a abertura e a velocidade do obturador, respectivamente, para obter a melhor exposição.
Juntando tudo isso
Depois de inserir as configurações, o medidor de luz indicará os ajustes que você precisará fazer antes de tirar a foto.
Medidor de luz/histograma
O medidor de luz é uma ferramenta usada para avaliar suas configurações manuais. Se o medidor de luz indicar “0”, significa que há luz suficiente para capturar sua imagem. Isso também indica que sua imagem deve ficar bem equilibrada. Se o medidor de luz indicar um valor negativo, significa que a imagem ficará subexposta, ou seja, muito escura. Um medidor de luz com valor positivo significa que a imagem ficará superexposta, ou muito clara. Você pode ajustar as diferentes configurações da sua câmera para zerar o medidor.
Um dos melhores indicadores, se as configurações da sua câmera mostrarem isso, é o histograma da sua cena com as configurações que você escolheu. Ele vai indicar se o seu quadro está com os brancos queimados ou muito escuro; um histograma saudável vai parecer mais uma montanha do que um vale — mostrando que há informações nos brancos e nos pretos, além de ótimos tons médios.
Aqui vai um gráfico bem útil:

Quando você estiver pronto para fotografar no modo manual, esta é uma maneira de percorrer suas configurações. Escolha o ISO que melhor se adapta às condições de iluminação que você tem. Se você estiver em um espaço mais escuro ou em um local fechado, escolha um ISO mais alto. Em segundo lugar, decida se a profundidade de campo ou o movimento é mais importante. Se escolher a profundidade de campo, você precisará ajustar a abertura antes de compensar com a velocidade apropriada do obturador; vice-versa para o movimento. Faça pequenos ajustes com base nos resultados.
Há alguns truques que você pode usar ao tentar encontrar o equilíbrio certo para uma imagem. Para um nível médio de sensibilidade ISO, a velocidade do obturador e a abertura também podem estar no meio. Entretanto, se você usar uma sensibilidade ISO alta, uma velocidade de obturador mais rápida significa que você deve aumentar a abertura (f-stop baixo) e uma velocidade de obturador lenta significa que você deve diminuir a abertura (f-stop alto).
Tentativa e erro
A melhor maneira de aprender mais sobre as configurações manuais é experimentar combinações diferentes. Usando tudo o que você aprendeu acima, configure sua DSLR e tire fotos diferentes do mesmo objeto usando configurações diferentes. Mantenha um registro dos resultados para acompanhar quais configurações funcionaram melhor em diferentes situações – você também pode organizá-las por metadados na pós-produção. Usando essas técnicas, você estará no caminho certo para dominar os desafios técnicos da fotografia.
Se você estiver fotografando no modo RAW, ainda vai ter tempo na pós-produção pra brincar com a exposição. Já o ISO, nem tanto, então é bom você pegar o jeito disso por tentativa e erro. Lembra de se familiarizar com o menu da sua câmera, o manual e os tutoriais do YouTube específicos pra ela. Acima de tudo, divirta-se!
Mais recursos de fotografia:
Os melhores cursos e tutoriais on-line gratuitos para fotógrafos
Um guia para iniciantes sobre como comprar o equipamento fotográfico certo
8 erros comuns de fotografia para iniciantes (e como evitá-los)
7 noções básicas essenciais de edição de fotos: Nossas principais opções de tutoriais sobre o Adobe Lightroom
Crie seu portfólio com o Format
Criador de portfólio on-line classificado como #1 pelos fotógrafos.